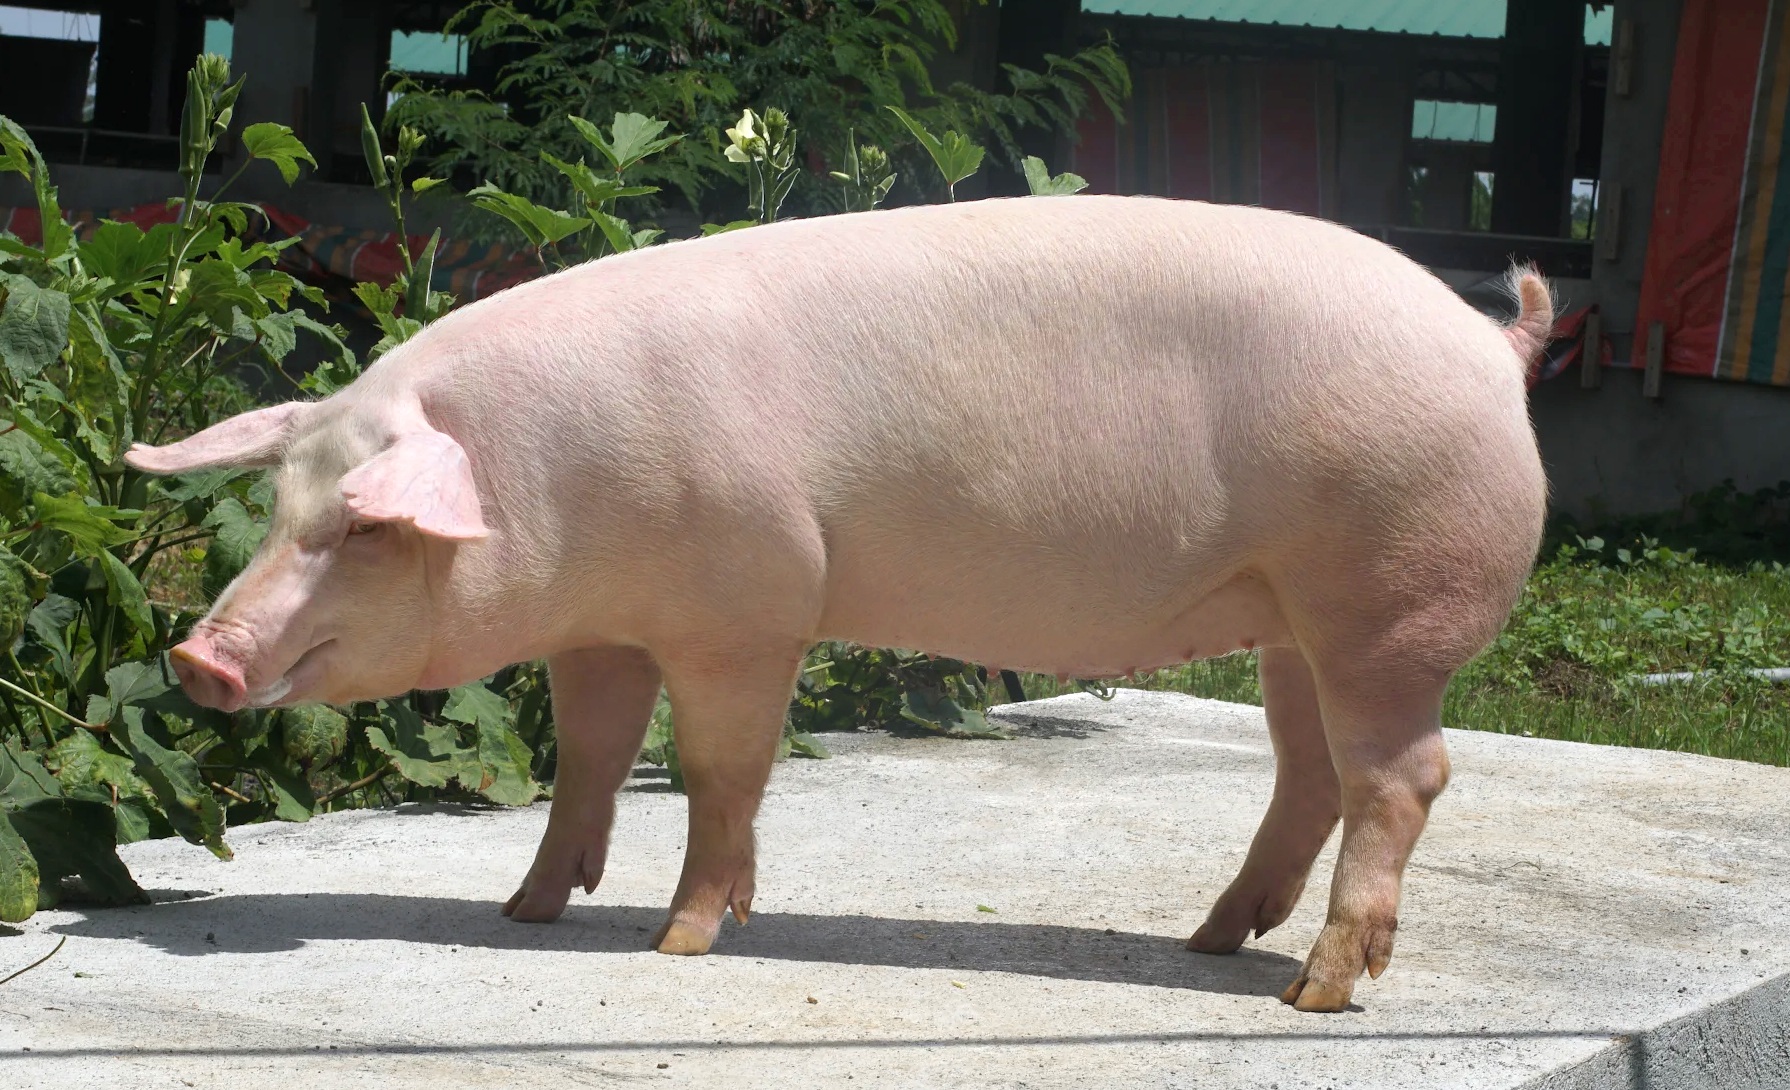
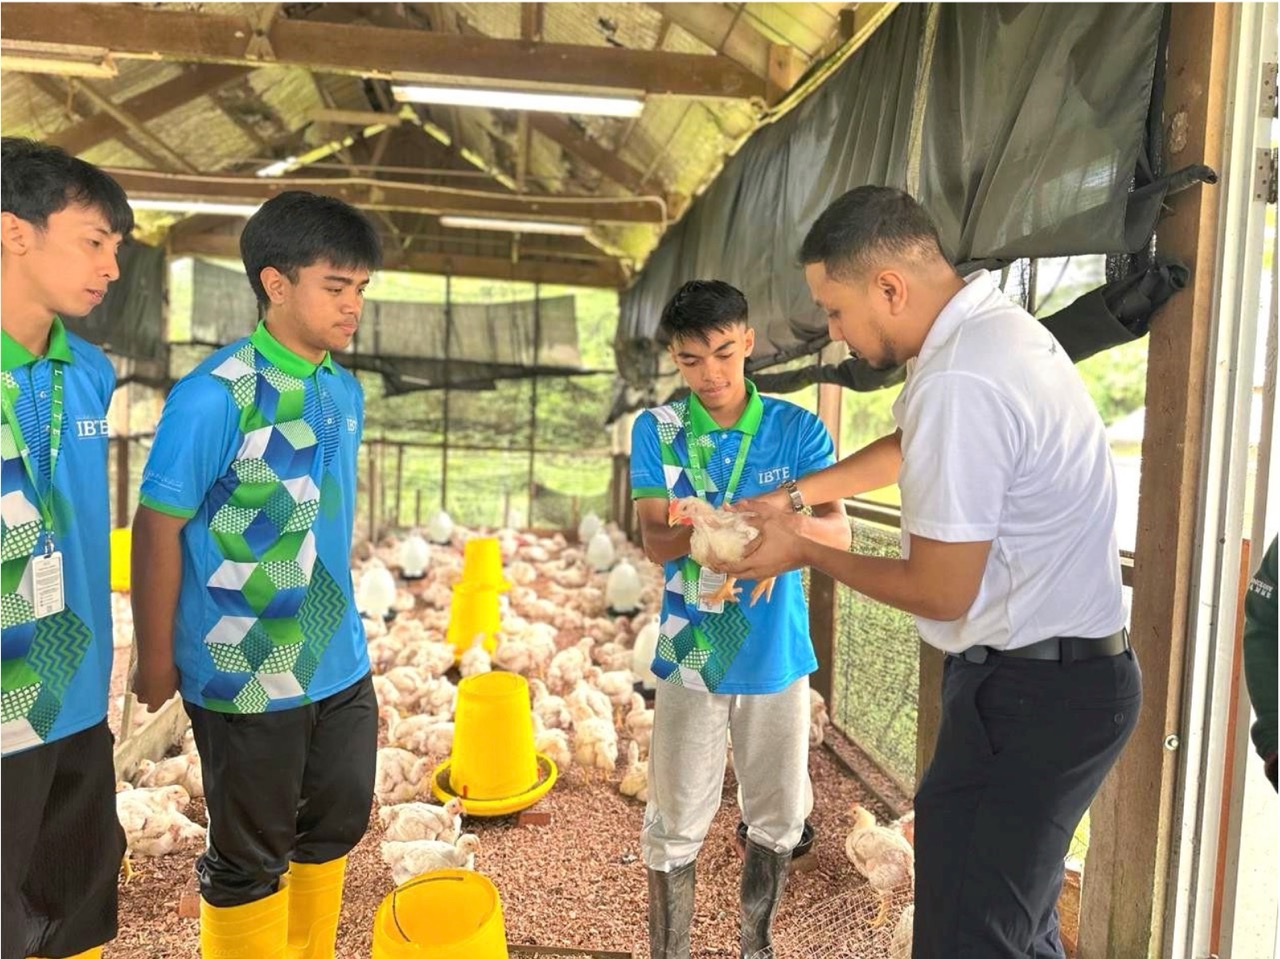
Good gilt management is not just a best practice; it is a foundational pillar for a highly productive and profitable sow herd. The strategic rearing and management of gilts directly impact the long-term success of your breeding operation, influencing everything from litter size to overall herd longevity.
Why Gilts Are Indispensable for Your Sow Herd
Gilts represent a significant portion of your breeding population, often comprising 17% to 20% or even more of the herd. Their importance extends beyond mere numbers:
- Defining Lifetime Productivity: Gilts are crucial for a herd’s genetic improvement and for replacing non-performing sows. When properly managed, they can maximize lifetime productivity by improving litter size and farm profitability by preventing early culling. A gilt’s first litter size (P1) is a strong indicator of her lifetime productivity; those with high P1 litter sizes tend to maintain high performance in subsequent parities, while those with low P1 litter sizes often continue to have lower productivity, leading to potential early culling.
- Herd Replacement and Improvement: Gilts are essential for replacing older or poor-performing sows, ensuring that the herd continuously improves its genetic potential and overall performance.
- Genetic Potential: When properly selected, gilts are young animals with high genetic potential, chosen for traits like having more than 14 functional teats.
- Farm Profitability: Sows must wean at least six litters to become profitable. Culling gilts or young sows before their third parity negatively impacts farm profitability, underscoring the importance of management practices that promote high retention rates.
Practical Information and Best Practices for Gilt Management
Effective gilt management encompasses several key stages, each crucial for developing productive future breeders.
1. Gilt Selection: The Foundation of Success
A successful gilt management program begins with meticulous selection.
- Genetic Supplier: Choose gilts from a genetic supplier whose breeding programs prioritize traits contributing to sow longevity and overall system profitability, focusing on genetic improvement for stability, weaning capacity, and reproductive efficiency.
- Physical Conformation: Select gilts with good physical confirmation, which is crucial for productivity and longevity, and this selection process focuses on four key areas: the legs and feet, underline or teats, vulva, and overall body conformation.
- Health Status: Ensure the absence of health issues or lameness. It is vital to know the health status of the source farm, with some farmers even requiring specific tests.
- Growth and Body Condition: Select gilts with proper growth, weight, and back fat levels. Avoid over-developed or under-developed animals.
2. Quarantine and Acclimatization: Bridging the Gap
Incoming gilts face and may cause significant health challenges, making a proper quarantine and acclimatization period essential.
- Duration and Location: Ideally, this period should last a minimum of six weeks. The quarantine barn should be an isolation facility, located far from the main herd and managed as an entirely separate unit.
- Health Protocols:
- Timely vaccinations are administered.
- Preventive antibiotic treatment (via water or feed upon arrival) may be advisable based on farm history.
- Deworming is also performed.
- Gradual Exposure: To build immunity without causing illness, gilts are gradually exposed to pathogens from the recipient herd. This is typically done by introducing organic material (manure) from the main farm into the quarantine barn, and later, using animals like old sows or teaser boars.
3. Feeds and Feeding: Fueling Future Productivity
Nutrition plays a vital role in gilt development. Inquire now about our Elite XP GestraPrime or a customized Pork Solutions for gilt developer diet.
- Gilt Developer Diet: Feed a gilt developer diet from arrival in quarantine until breeding. This diet contains higher mineral content, including calcium and phosphorus, to support stronger bone structure and muscular-skeletal system development, crucial for carrying weight during pregnancy.
- Flushing: Implement flushing by limit-on feeding gilts 5 to 7 days before the expected insemination day, providing more than 3 to 4 kilograms of feed per day. This practice directly enhances the ovulation rate.
- Appetite Enhancement: To boost appetite, consider adding 200 to 250 grams of sugar or dextrose powder per day to the feeds.
- Water Access: Clean drinking water must be available to gilts at all times.
4. Pen Adaptation: Easing the Transition
Gilts typically move from group pens in quarantine to individual pens before breeding.
- Individual Pen Acclimation: Gilts should be placed in individual pens or crates in the gestation or breeding barn for at least three weeks prior to their first insemination. This allows them to adapt to the individual housing system and prevents negative impacts on their feed intake close to insemination.
- Group Housing Systems: If the farm uses group housing with electronic sow feeding (ESF) stations, gilts must be trained to use these feeders before insemination.
5. Environment: Optimizing Conditions for Estrus
The surrounding environment significantly influences gilt development and the onset of estrus.
- Lighting: Lighting is critical to stimulate estrus. Gilts require approximately 300 lux at eye level for 16 hours per day (e.g., from 6 AM to 10 PM).
- Temperature: Maintain the barn temperature ideally between 18 to 20 degrees Celsius. In tropical climates, where this is a challenge, strive for the lowest comfortable temperature to minimize stress.
- Stocking Density: Adhere to the correct stocking density to prevent injuries or fighting among gilts, which can also affect their growth.
- Flooring: Concrete slats are generally preferred as they are sturdier, help maintain dryness, and are less slippery for the gilts.
6. Estrus Stimulation: Initiating the Reproductive Cycle
Boar exposure is the primary method for estrus stimulation.
- Timing: Begin boar exposure no later than 180 days of age (around 24 to 25 weeks old).
- Procedure: Sessions should last at least 10 minutes per group of 10-15 gilts and occur twice daily, seven days a week.
- Record Keeping: Accurate records of the first heat cycle (day and age) and subsequent estrus cycles are crucial for planning inseminations.
- Teaser Boar Characteristics: Use active, “chatty,” and high libido teaser boars, ideally older than 10 months. Avoid very young or very old boars.
- Multiple Boars and Rotation: It’s advisable to use more than one teaser boar (e.g., three for a given number of gilts). Regularly switch boars (different sets for morning and afternoon) to maintain a “surprise effect” and maximize stimulation. Teaser boars should also be replaced annually (30-50%).
7. Heat Detection: Identifying Receptivity
Heat detection should begin immediately upon the gilts’ arrival in quarantine.
- Early Detection: Initially, heat detection may be done without a teaser boar for sanitary reasons, with caretakers mimicking boar activity.
- Signs of Estrus:
- Pre-estrus: Swelling of the vulva, possible mucus discharge, reduced appetite, increased activity, and gilts riding the backs of others.
- Standing Heat: A positive back pressure response (the gilt allows mounting or back pressure), muscular contraction, ears and tail pointing up, smelling and chewing behavior, and vocalizations indicating acceptance.
- Record Keeping: Accurate records of gilts showing signs of estrus are essential.
8. Conditions for First Insemination: Ensuring Readiness
Gilts must meet specific eligibility criteria before their first insemination to ensure optimal reproductive performance.
- Weight: Between 135 to 150 kilograms.
- Age: Between 210 to 240 days old.
- Back Fat: A minimum of 15 millimeters of back fat (avoiding over or under-conditioned animals).
- Growth & ADG: Proper growth with a fully developed reproductive system, and an Average Daily Gain (ADG) between 600 to 700 grams per day from birth.
- Heat Cycles: At least two recorded heat or estrus periods before first insemination.
- Vaccinations: Avoid any vaccinations within three weeks prior to the first insemination.
9. Insemination Steps: Precision for Conception
Proper insemination timing and post-insemination care are vital for conception.
- Timing: The first insemination should occur immediately upon detection of standing heat. The second insemination is typically performed 12 hours after the first.
- Post-Insemination Care: Avoid moving or mixing gilts for 30 to 35 days after insemination.
- Pregnancy Detection: Conduct pregnancy detection around 20 to 30 days post-insemination. Confirmed pregnant gilts are then moved to the gestation barn around 35-36 days.
- Dot-Stripe-Cross Method: This simple identification method helps manage insemination timing.
- Heat checks are done twice daily (minimum 7-hour interval) using two different colored markers (one for AM, one for PM).
- A dot signifies standing heat.
- A stripe indicates the sow has been inseminated.
- A cross means the sow is no longer in standing heat.
- This method provides a clear visual record and helps determine the length of the estrus period, allowing for customized insemination management. For example, a gilt weaned on Thursday morning might show standing heat on Monday morning (marked with a blue dot). Insemination might occur Monday afternoon (red stripe). Subsequent checks and inseminations would be marked until the gilt is no longer in heat (red cross).
By meticulously implementing these good gilt management practices, from careful selection and environmental control to precise estrus stimulation and insemination, you can significantly enhance the productivity and longevity of your sow herd, ultimately contributing to the sustained profitability of your farm.


